
Happy Monday! =)
Can you believe it's already March??! ;oP ~wOw!
And, for me and mine, March means St. Patrick's Day~ and lots o'green! ;)
In honor of St. Patrick's Day, today Make Something Monday is a cute little treat I found online here that you can make with the kids (big *or* small ;] ), and would be great to give as treats! It's a Hershey's Shamrock! =)

Here's what you'll need:
- Hershey's kisses (3 per shamrock)
- Several pieces of cardstock, construction paper, or scrapbook paper ~ in green shades
- Glue
- Scissors
- ruler
- pencil
- twine or ribbon

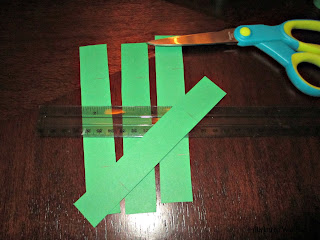
Step 1: For each shamrock you want, cut a strip of paper: Cut a piece of 9-½” x 1”, and draw notches in pencil (to about halfway up the width of the paper) at 1 1/2" and 8" on one side of the strip, then swing it around and at 4 3/4", draw a slightly thicker notch. Then make cuts on the lines you've drawn.


Step 2: You want to "help" your shamrock leaves take form, so slightly (and gently) curl each end with a bone folder, if you have one, or the end of your scissors, if you don't (think ribbon curling).
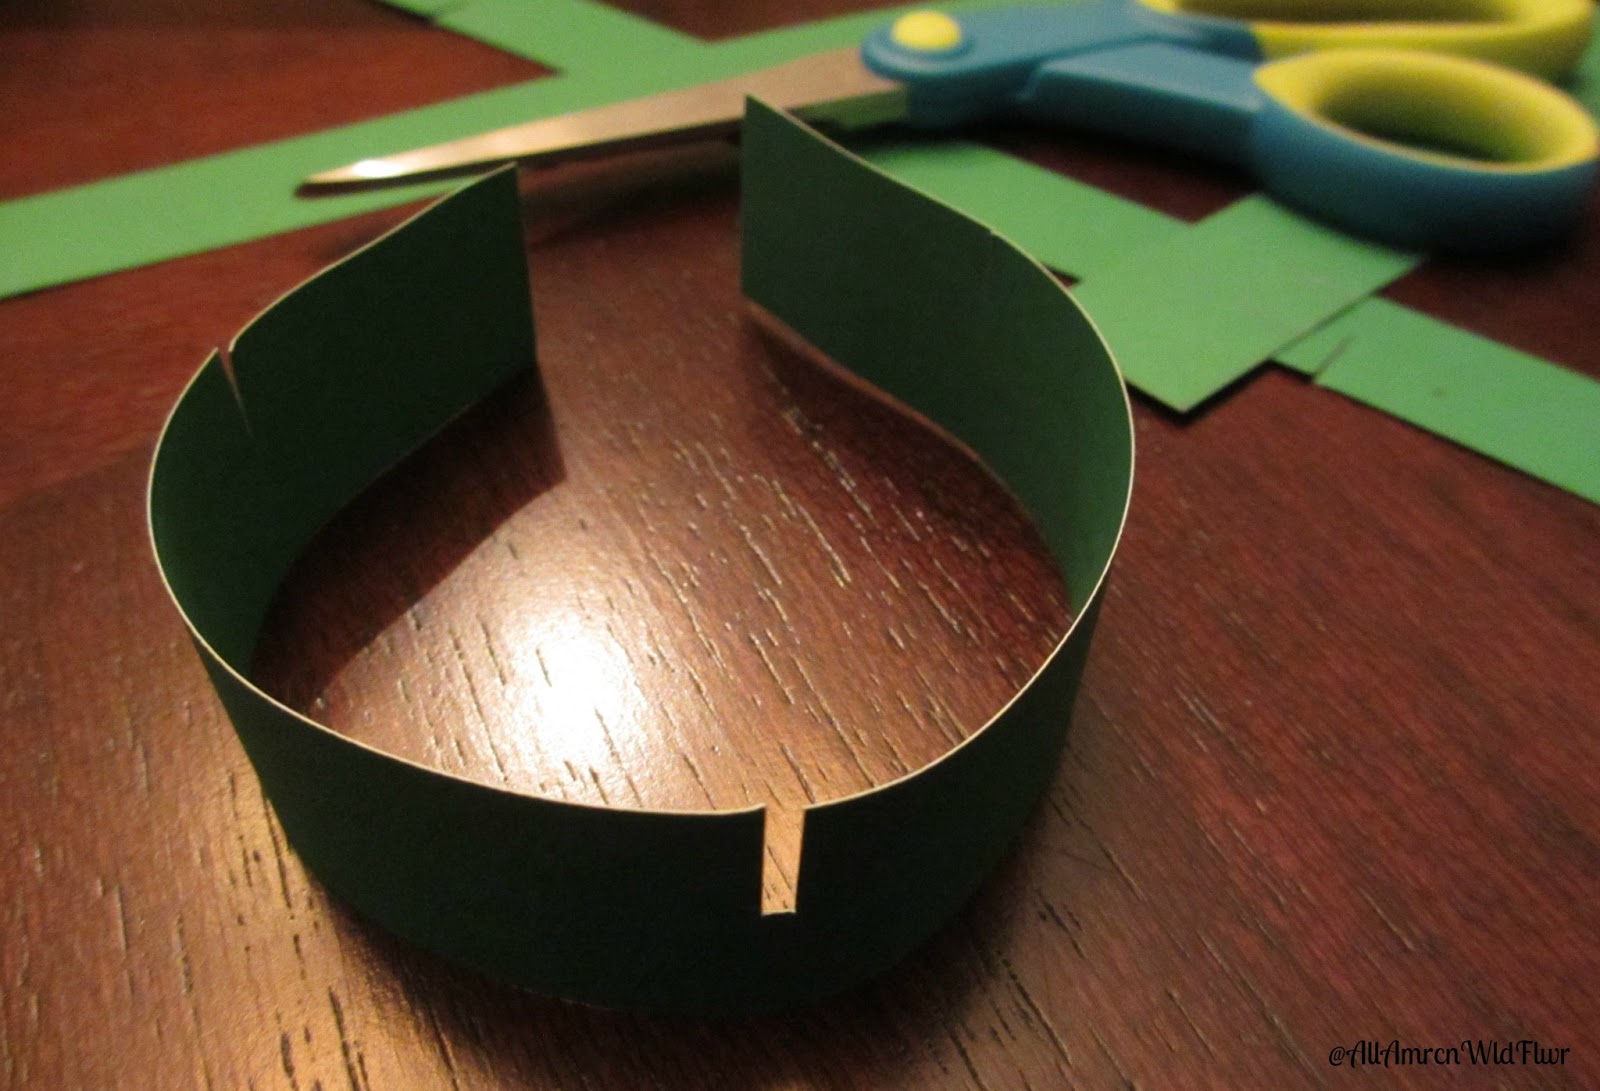 | |
| Work out from the center on each side. |
Step 3: Bend in one side of the strip so that its notch meets the middle notch you cut earlier, and marry them. You have formed your first leaf. =)

Do the same with the other side. You now have two leaves.

Now set this aside while you work on the third leaf of the shamrock.
Step 4: Cut out a strip, 6" x 1", for each shamrock you are making. As in Step 1, you will draw marks to make notches~ this time make marks at 1 1/2" and 4 3/4", both on the same side. Now, make your cuts.
As you did in Step 2, slightly curl your leaf to help give it form.


As you did in Step 2, slightly curl your leaf to help give it form.

Step 5: Bring the ends of your strip together, forming
your shamrock's third leaf. Slide the assembly into the middle of
your shamrock.

Yay~ Shamrock! ...We're halfway there, but we're not
quite finished...

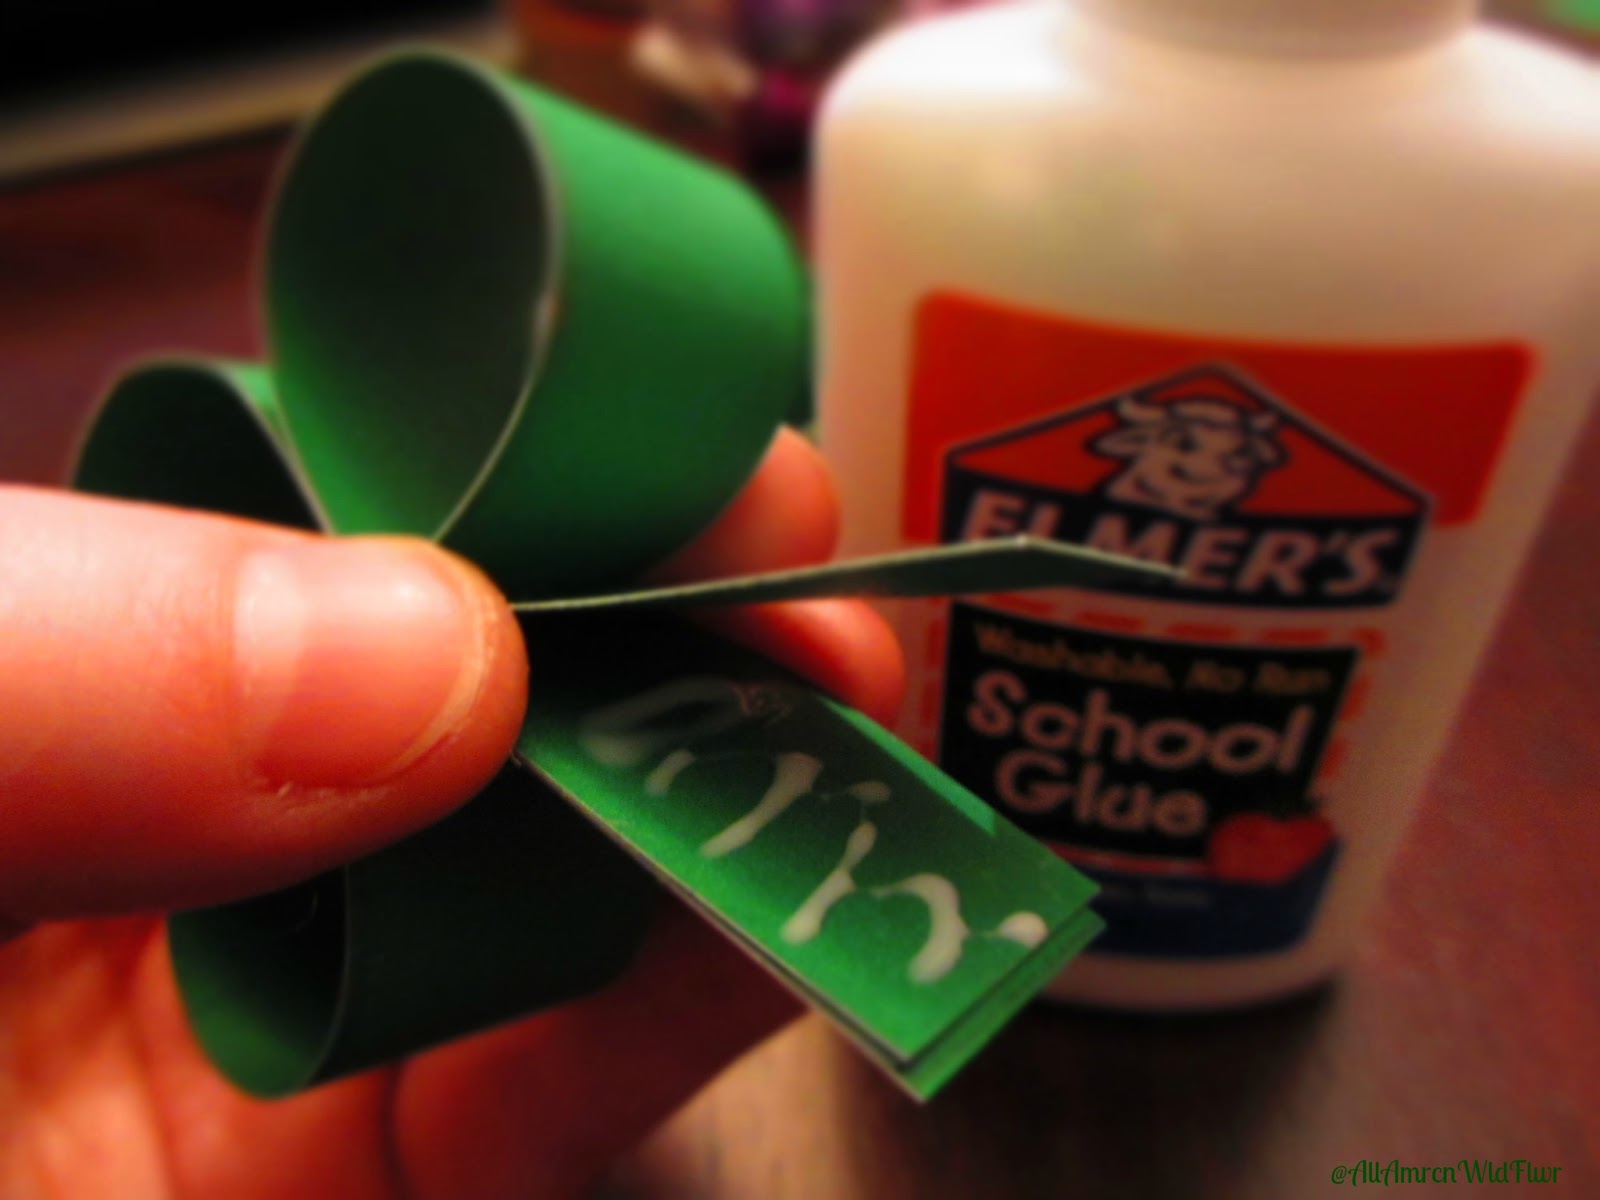
Step 6: Glue your stems together to create one strong
stem. Note: remember that there are three places to glue.
Step 7: Cut three strips, measuring 4" x 3", for each
shamrock you are making.

Score each of your strips at 1”, 2”, and 3” along
its length.

Bend the strips at each score, creating a triangle.
This triangle will be the home for your Hershey's kisses.

Step 8: Depending on your personal dexterity, you may
find this step might work best one of two ways for you:
Option A: Insert your formed triangles into the leaves
of your shamrock. THEN, insert a Hershey's kiss into each of the
leaves of your shamrock...
~OR~
Option B: Wrap your Hershey's kiss in your triangle,
and THEN insert the entire assembly into the leaf of your shamrock
(my option).


Step 9: Here's the fun part: Personalize your St.
Paddy's Treats! =)

I have put a pretty little ribbon on mine...
In the tutorial that inspired this post, the author added a little greeting :
“Happy St. Patrick's Day!” =)
...Let your imagination lead you!
 |
| Ta-DAaaaa! =) |
How much FUN is that??! =oD I love these little guys!
Please leave me a comment if you made some, too! =)
...And please share the with your friends!
Until next time...
May your imagination light your way,
~xo~StacyLynn a.k.a. AllAmrcnWldFlwr [Flower]
No comments:
Post a Comment
Show, Share, and Spread the Love... Thanks! =)
~xo~ "@~>~"